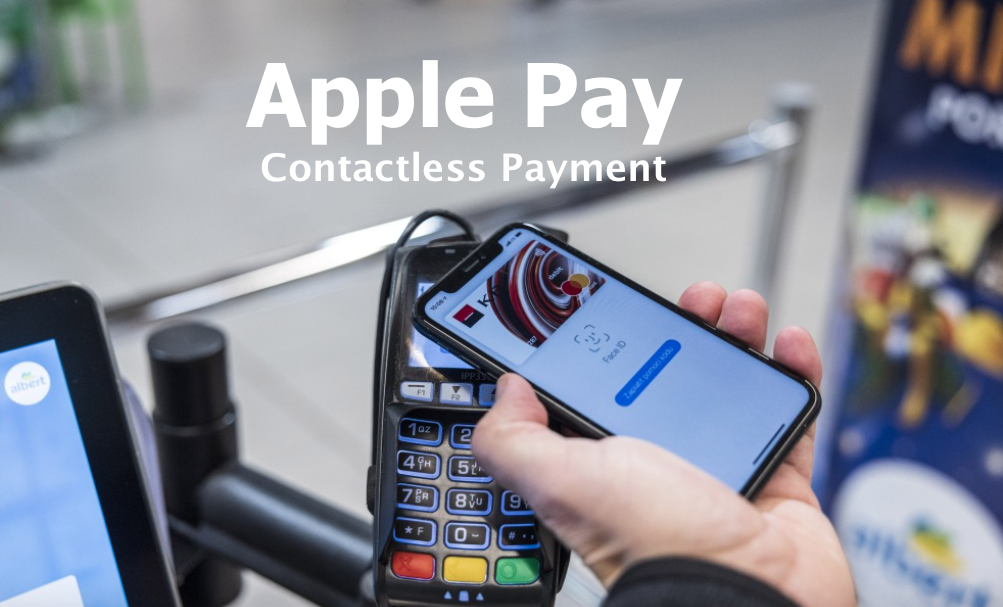
I will show you how to Use Apple Pay for contactless payments on iPhone, iPad, Mac and Apple watch. By making use of your Apple Cash, credit, and debit cards stored in the Wallet app on iPhone, you can use Apple Pay for secure, contactless payments in stores, restaurants, and more.
With Apple Pay, you have the convenience of making secure and contactless purchases using various payment methods. These include Apple Cash, Apple Card, and any other credit or debit cards you add to your Wallet.
Apple Pay is easy and works with the Apple devices you use every day. You can make secure contactless purchases above the £100 limit in shops, apps and online e-commerce websites.
There is a previous guide on Apple Pay for Online and in-Store Payment, where I gave an explanation about Apple pay, how it works, sign up and login steps. I have all your questions answered in that post. You can look it up before you continue with Apple Pay contactless payments on iPhone, iPad or Mac.
Find places that accept Apple Pay
Where can you use Apple pay for payment? You can use Apple Pay wherever you see contactless payment symbols such as the following:

For those who patronizes Home Depot, Wallmart, and other stores, you can find if their in-store Payment Options include Apple Pay here.
How to use Siri for payment: Simply say something like: “Show me hair saloon shops that take Apple Pay.” Learn how to use Siri.
Apple FAQuestions & Answer:
- How can I Find my iPhone using Find My on Apple’s iCloud?
- How to Use SIM PIN on my iPhone to Prevent Unauthorized SIM card
How to Pay with your default card on an iPhone and iPad with Face ID
- First step is to double-click the side button.
- Now, immediately your default card appears, look at your iPhone to authenticate with Face ID, or enter your passcode.
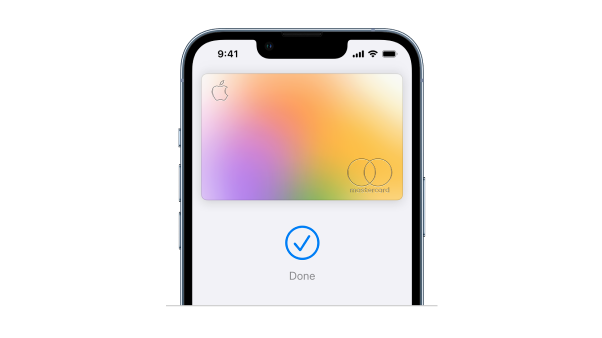
- Lastly, you have to hold the top of your iPhone near the card reader until you see “Done” and a checkmark on the payment screen.

How to Pay with your default card on an iPhone with Touch ID
- The first thing you wanna do is to place your finger on Touch ID.
- Just hold the top of your iPhone near the card reader until you see “Done” and a checkmark on the screen.
How to Pay with a different card instead of your default card
- When your default card appears, tap it, then choose another card.
- Authenticate with Face ID, Touch ID, or your passcode.
- Hold the top of your iPhone near the card reader until you see Done and a checkmark on the screen.
Use a rewards card
At participating stores, you can receive or redeem rewards when you use Apple Pay.
- Add your rewards card to Wallet.
- When you are on the payment terminal in the store, show them your rewards card by holding iPhone near the contactless reader.
Immediately that is done, Apple Pay will quickly switch to your default payment card to pay for the purchase. Note that in some in-stores purchase, you can apply your rewards card and payment card in one step. While in some other stores, you need to wait until the terminal or cashier asks for payment. Therefore, you have to be a bit patient for the process to complete.
Now, for you to have your rewards card show automatically when you’re in the store, tap the ‘3 dots’ on the top of the card, tap Pass Details, then turn on Automatic Selection.
Note: If you have Location Services turned on, the location of your iPhone at the time you make a payment may be sent to Apple and the card issuer to help prevent fraud. See Control the location information you share on iPhone, iPad or Mac.
Bottom Line
Apple Pay is designed to be simple and seamlessly integrated with your everyday Apple devices. It allows you to make secure contactless purchases exceeding the £100 limit at various locations, including physical stores, apps, and online platforms.
Similar Posts:
- Cash Back Credit Cards: Types, Comparison, Rewards, Pros and Cons
- How to Set up Cash App in Your Mobile Smartphone or Computer
- Amazon Pay for Customers and Merchant’s Fees, Alternatives
- Cash App Fees and Charges to Send and Receive Money
- How to Disable Find My iPhone – Turn it off Completely
- Apple’s TipKit Make iOS App Building Much Easier


