


What is a Facebook App ID? It is a unique number that identifies your app when you request ads from Audience Network.
Every app on Audience Network must have a unique Facebook App ID before it can be used. However, you may already have an App ID if your app uses Facebook Login or Facebook Analytics for Apps available online.
For you to get a unique Facebook App ID, please follow these steps.
Step 1: Visit The Facebook Developers Page
First and foremost, you need to navigate your internet browser to the Facebook Developers page. You’ll need to login to your Facebook account.


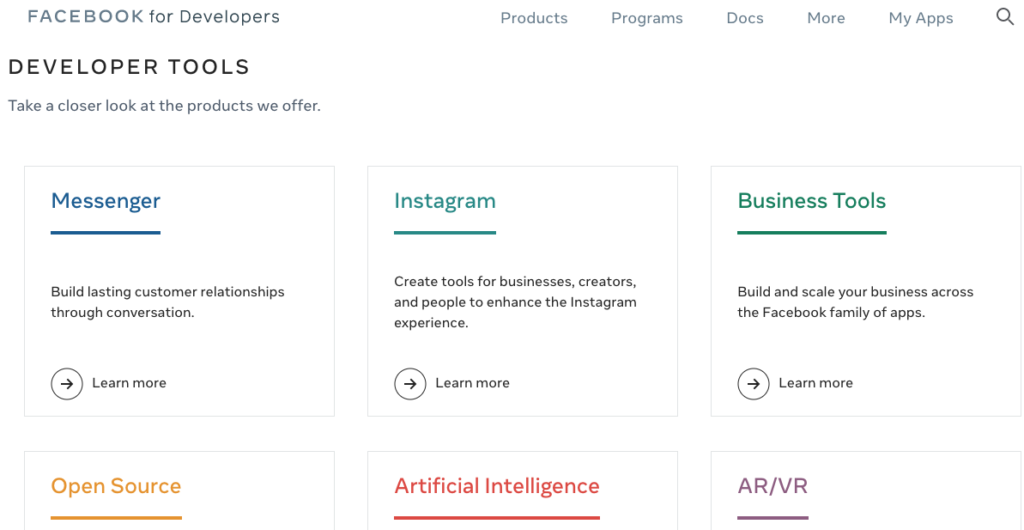
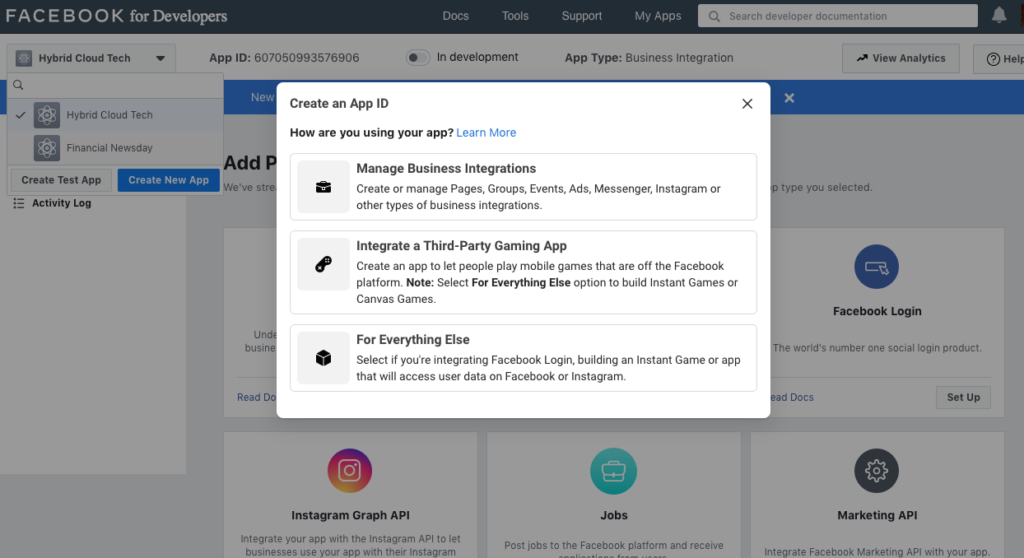
Immediately you log in to your facebook account, you’ll see a screen similar to this image below: Select the option suitable for your business app. For this purpose of this article, Click on “Create New App” then choose the “Manage Business Integration”
Step 2: Input Your New App’s Information
Once you’ve clicked “Add a New App” link, a pop-up box will appear asking you for your new App’s Display Name, Contact E-Mail Address. Enter App’s Display Name and click on “Create App ID”. This is how it will be displayed on your screen.
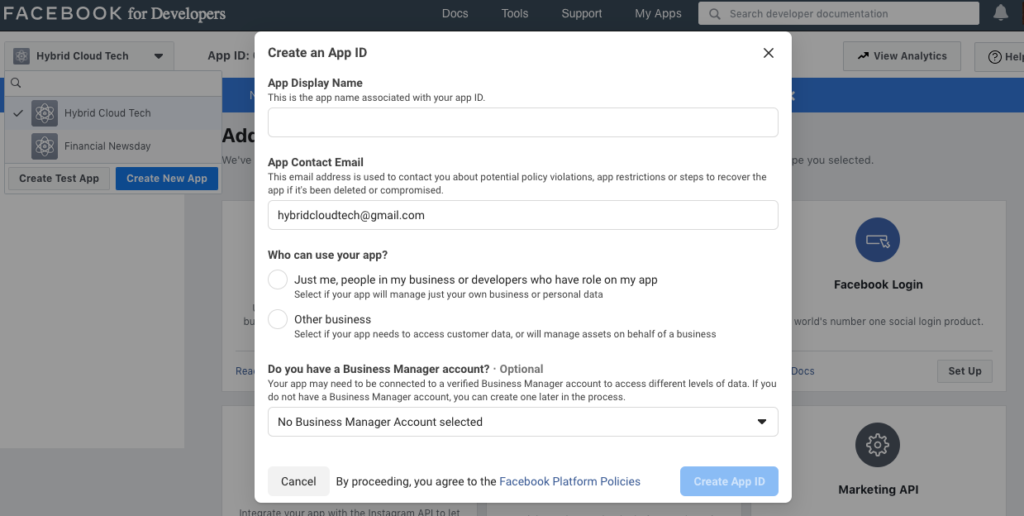
Create an App ID
App Display Name: Please note that this is the app name associated with your app ID.
App Contact Email: Enter your email address here because this email address is used to contact you about potential policy violations, app restrictions or steps to recover the app if it’s been deleted or compromised.
Who can use your app? Tick the boxes that are provided;
- Just me, people in my business or developers who have role on my appSelect if your app will manage just your own business or personal data
- Other businessSelect if your app needs to access customer data, or will manage assets on behalf of a business
Do you have a Business Manager account? This is Optional
You will see this; Your app may need to be connected to a verified Business Manager account to access different levels of data. If you do not have a Business Manager account, you can create one later in the process. Tick the box that shows; No Business Manager Account selectedCancel
Also, you should Tick the box which shows; By proceeding, you agree to the Facebook Platform Policies.
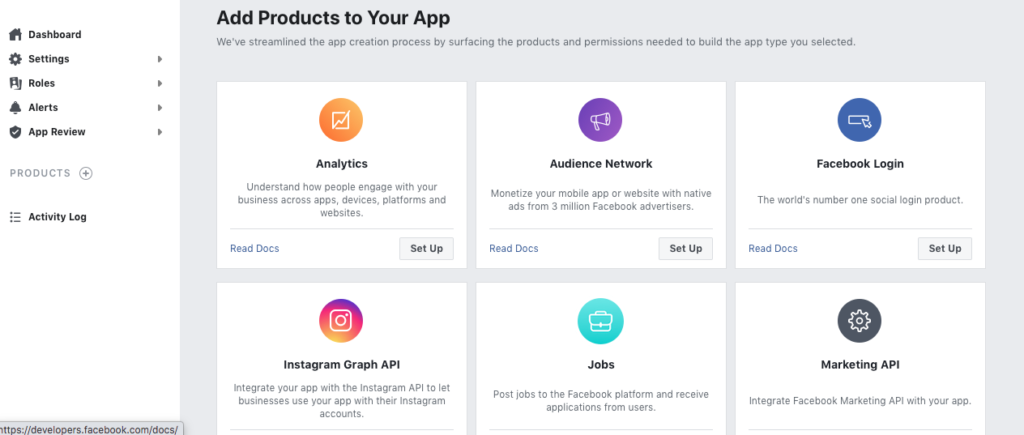
Step 3: Add Products In Your App
Now you have to add “Facebook Login” product in your app. And to do that click on “Set Up” button.
After clicking on “Set Up” button you will redirect to the “Quickstart” page.
To begin with, click on the platform for this app. Now select “Web” platform for this app.
For this explanation, choose Facebook login.

Choose the iOS if you have a native app on the Apple store; the Android if you have an app in Google Play Store. For this article purpose, select the Web. You can choose Other for more options.
Step 4: Set Up Your Product
After clicking on “Web” a new tab will be open. Now enter your site URL here and click “Save” button. Then click on “Continue”. Follow the steps below;
1. Tell Facebook about Your Website
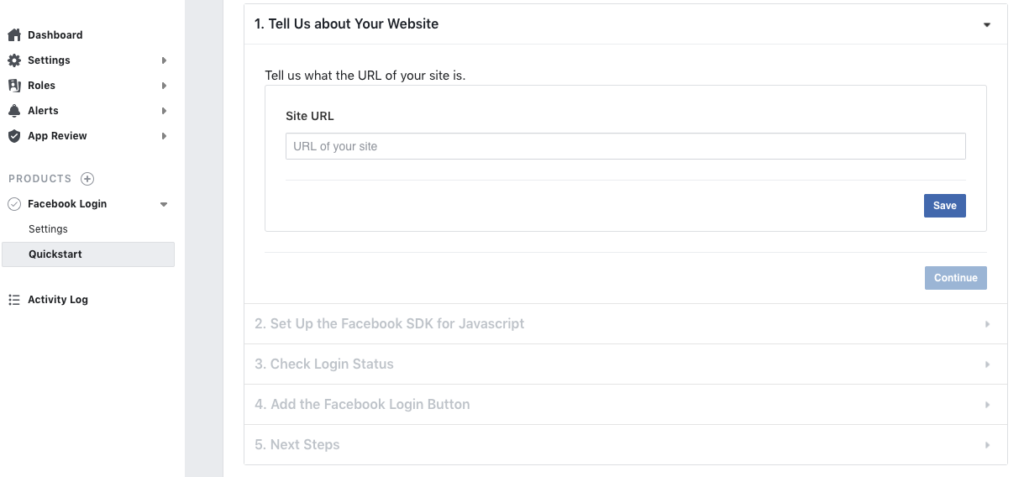
2. Set Up the Facebook SDK for Javascript
The Facebook SDK for JavaScript doesn’t have any standalone files that need to be downloaded or installed, instead you simply need to include a short piece of regular JavaScript in your HTML that will asynchronously load the SDK into your pages. The async load means that it does not block loading other elements of your page.
The following snippet of code will give the basic version of the Facebook SDK for JavaScript where the options are set to their most common defaults. Insert the following code snippet directly after the opening <body> tag on each page you want to use Facebook Analytics. Replace {your-app-id} with the App ID and {api-version} with the version of the API you are targeting. The current version isv7.0

3. Check Login Status
The first step when loading your web page is figuring out if a person is already logged into your app with Facebook login. You start that process with a call to FB.getLoginStatus. Ass seen on the Facebook App website, that function will trigger a call to Facebook to get the login status and call your callback function with the results.Taken from the sample code above, here’s some of the code that’s run during page load to check a person’s login status:

The response object that’s provided to your callback contains a number of fields:

status specifies the login status of the person using the app. The status can be one of the following:
connected– the person is logged into Facebook, and has logged into your app.not_authorized– the person is logged into Facebook, but has not logged into your app.unknown– the person is not logged into Facebook, so you don’t know if they’ve logged into your app orFB.logout()was called before and therefore, it cannot connect to Facebook.
authResponse is included if the status is connected and is made up of the following:
accessToken– contains an access token for the person using the app.expiresIn– indicates the UNIX time when the token expires and needs to be renewed.signedRequest– a signed parameter that contains information about the person using the app.userID– the ID of the person using the app.
Once your app knows the login status of the person using it, it can do one of the following:
- If the person is logged into Facebook and your app, redirect them to your app’s logged in experience.
- If the person isn’t logged into your app, or isn’t logged into Facebook, prompt them with the Login dialog with
FB.login()or show them the Login Button.
4. Add the Facebook Login Button
Including the Login Button into your page is easy. Visit the documentation for the login button and set the button up the way you want. Then click Get Code and it will show you the code you need to display the button on your page.The onlogin attribute on the button to set up a JavaScript callback that checks the login status to see if the person logged in successfully:

5. Next Steps
Congrats, you’ve added Facebook Login to your website! Be sure to check out our other documentation pages for more advanced guides.
- Implement a Data Deletion Callback: Implement a data deletion callback to respond the people’s request to delete their data from Facebook.
- Login Dialog: Invoke the Login Dialog using your own button instead of the Facebook Login button.
- Access Tokens: Use the Access Tokens generated by Facebook Login for your website.
- Permissions: Manage what data your app has access to through Facebook Login.
- App Review: Depending on the Facebook data you request from people using Facebook Login, you may need to submit your app for review prior to launch.
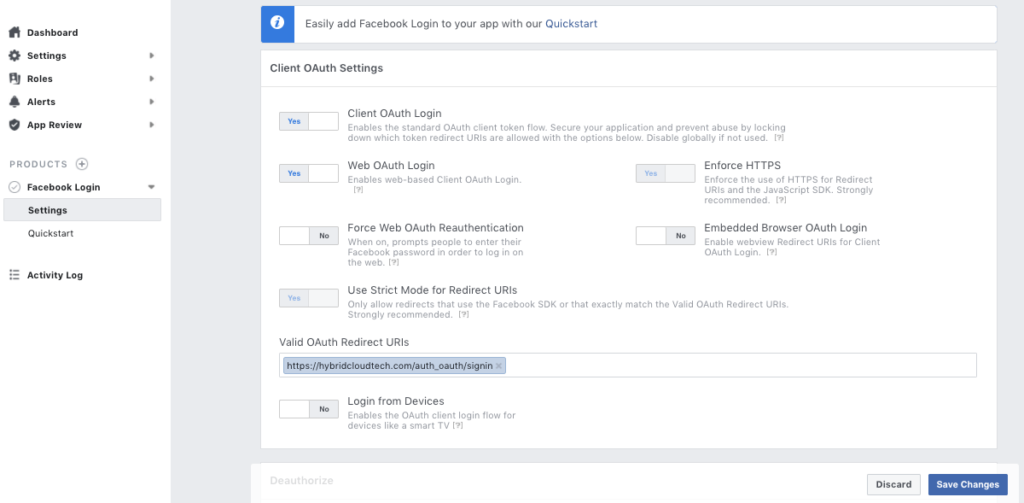
After clicking on “Save” button skip the remaining part. Now click on “Settings” in left side menu list.
Enter redirect URL here (for example “https://your-domain/auth_oauth/signin” in case of our website ajax login/sign-up module) and after that click “Save Changes” button to save the details.
Step 5: Make Your App Live
For making your app live you have to enter some more details. And for doing this click on “Basic” tab under the “Settings” in the left side menu list.
After clicking on “Basic” tab you have to enter “App Domains” and “Privacy Policy URL” and make this app live by clicking switch button on top.
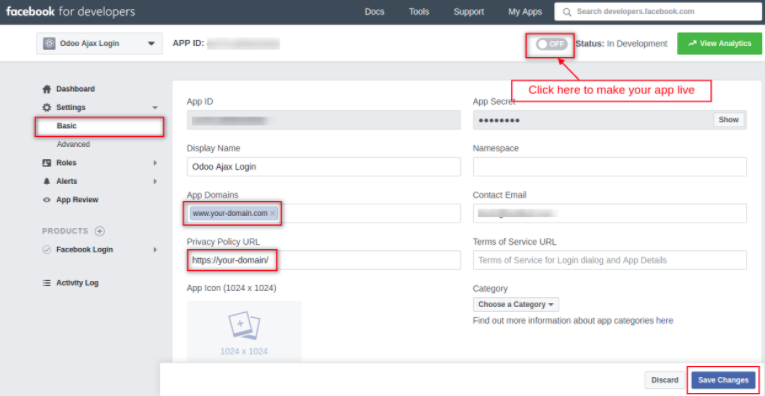
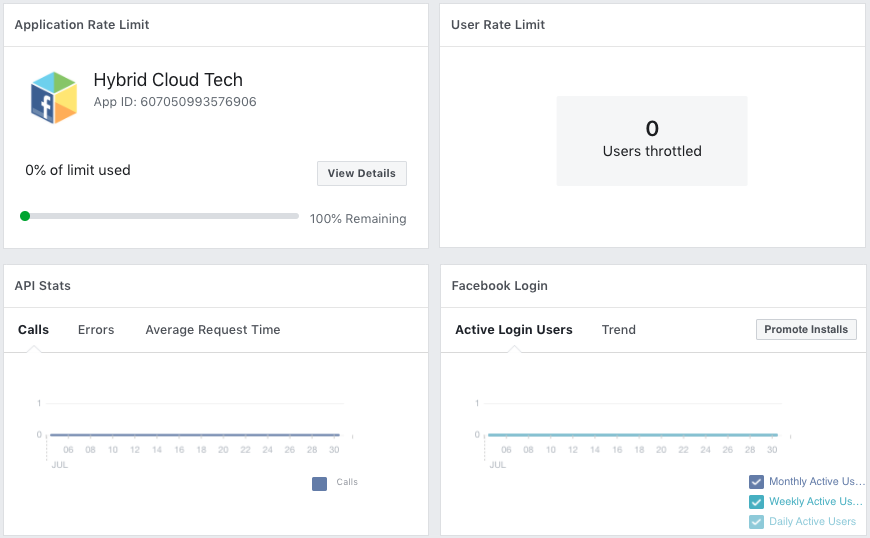
Now your app will become live and you can get your App ID as shown in image.
Thank you very much for reading this article, you can query or give feedback in the comments below, it will help our team in improving the content of this blog. Hope this post will help you to create and generate your Facebook App ID.


")